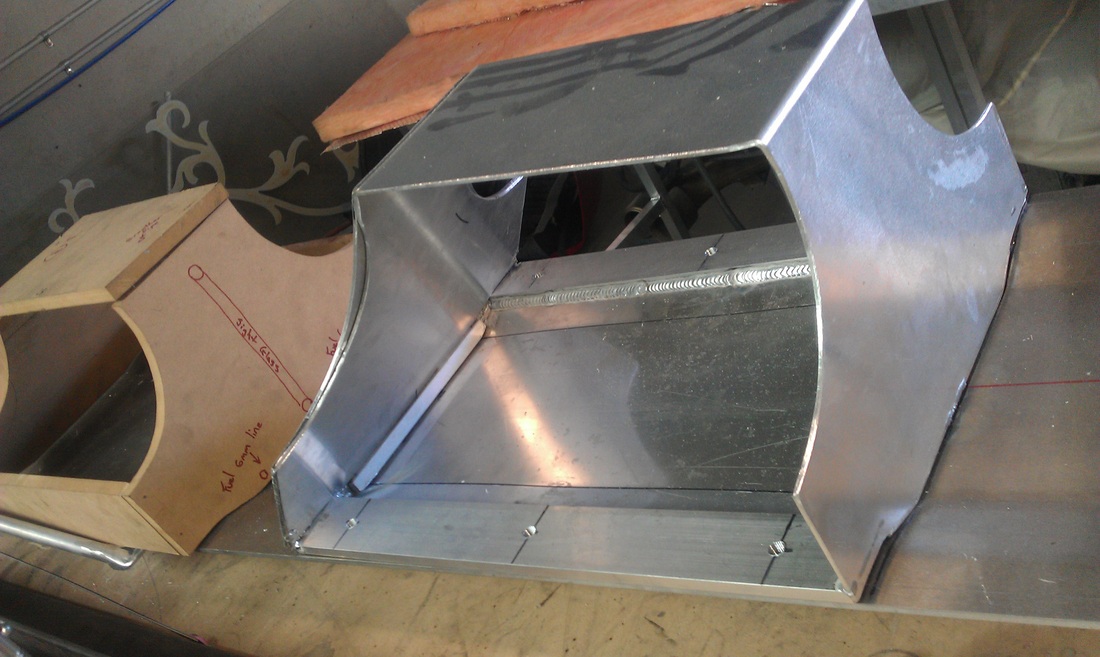
 I would like to introduce you all to my new high speed wheels. these wheels are drag race tested and proven to be top of their class when it come to speed in excess of 250+kph (155 mph). the crew over at Proline Performance have been great enough to come onboard as one of the primary partners, and together with this new partnership, we are now assured the world record for fastest luge. the wheels themselves are just a little over 100mm in diameter and 50mm wide and as you can see have an alloy core. i have big plans for these wheels and i look forward to working with the crew at Proline at breaking some records together. 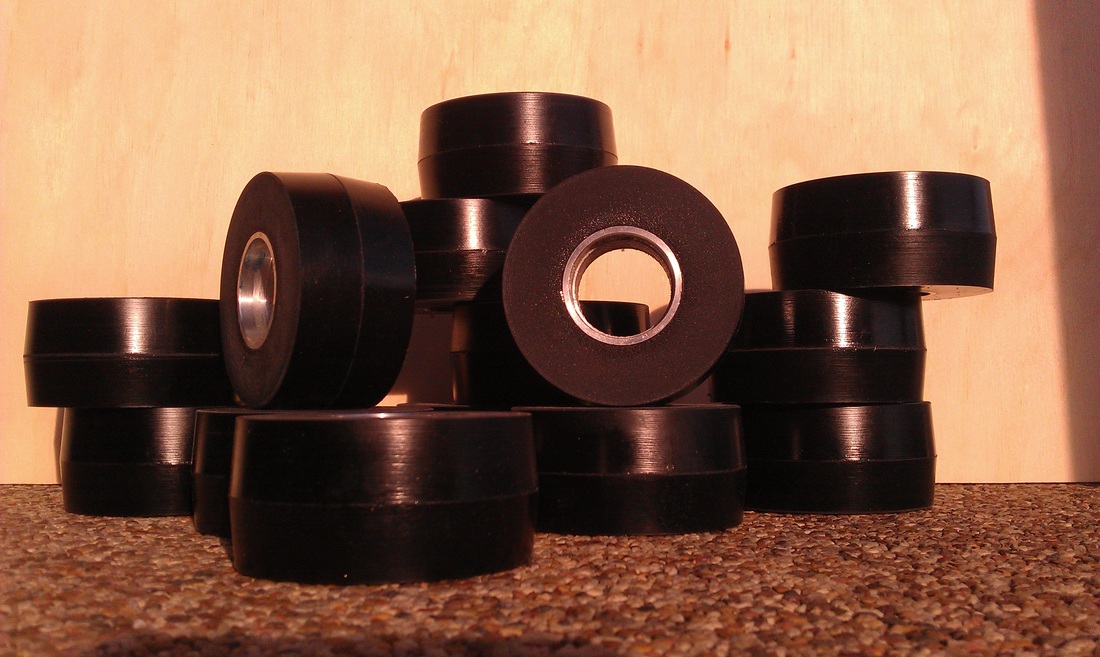 It certainly is a first for me. building fairing that is, now on the home stretch of having a completed jet powered luge i am having to work on getting the board ridable. and in doing that i need fairing. this will protect my legs and body from debris as well as add a little more aerodynamics to the board itself. now this would be easy if you have done something like this before, but i have never EVER done anything like this. so you can imagine the challenge that lay before me. 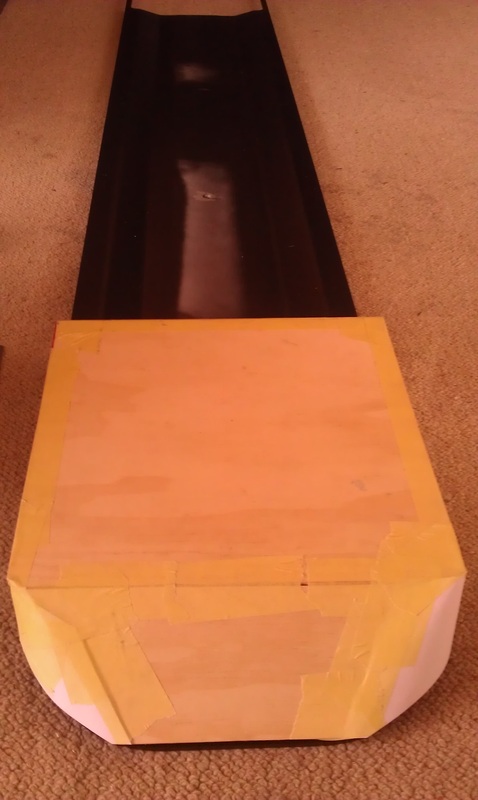 so the first thing i did was to lay out some ply board to see roughly how it should go. i learnt this by watching youtube haha. 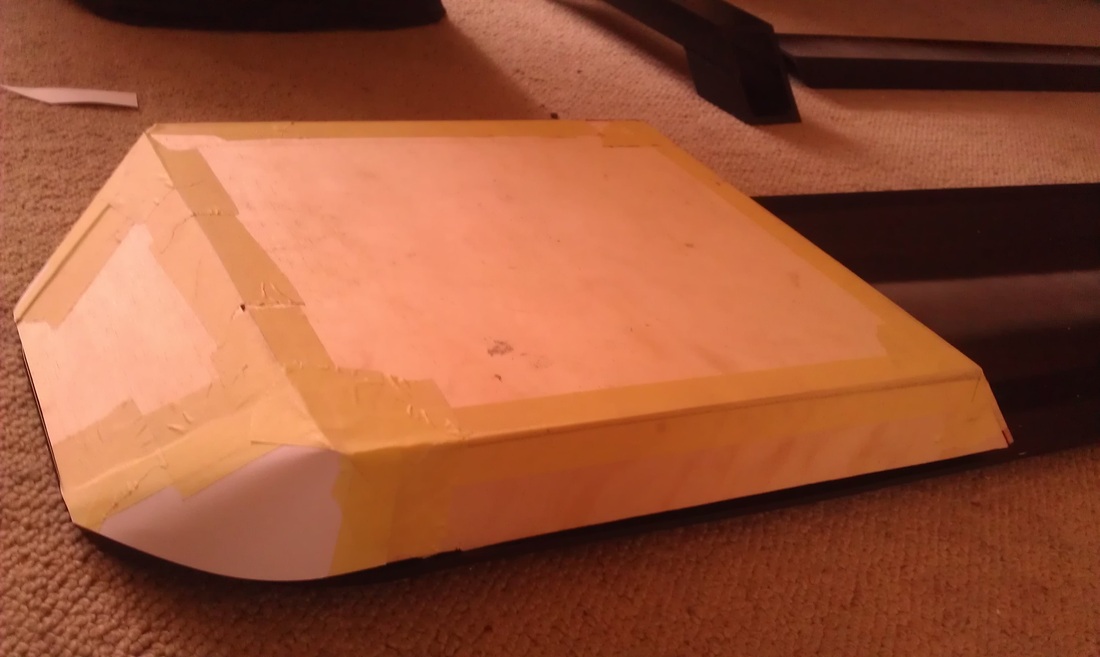 i had no idea how to get a good corner so i cut off some cardboard and taped it in. i knew this would go hard when i fiberglassed the inside. 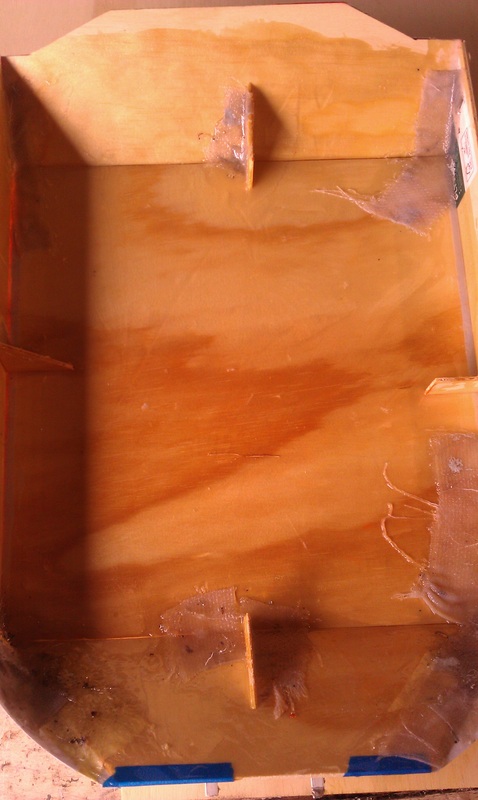 after glassing the inside it now had the rigidity i needed to shape the outside how it needed to go. 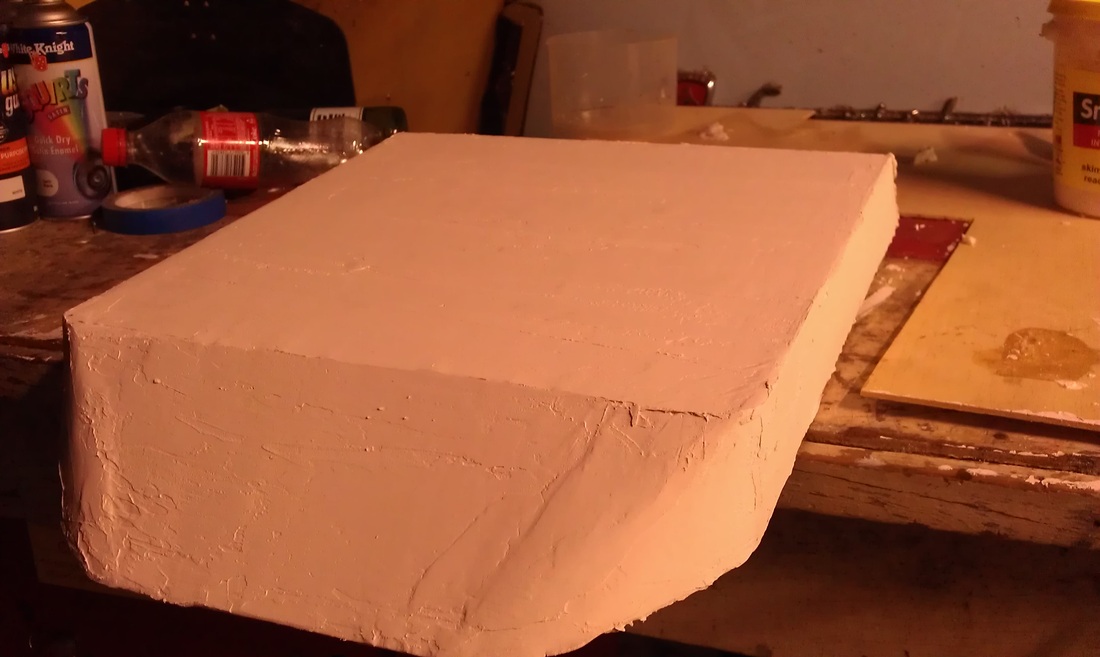 getting a nice layer to work with i found out was key. as you have to layer it then take of a layer. add another then work it back. and so on and so on. did i mention i hate this job. i was up till the early AM's working on this. i think i worked it out to be about 16hrs strait. 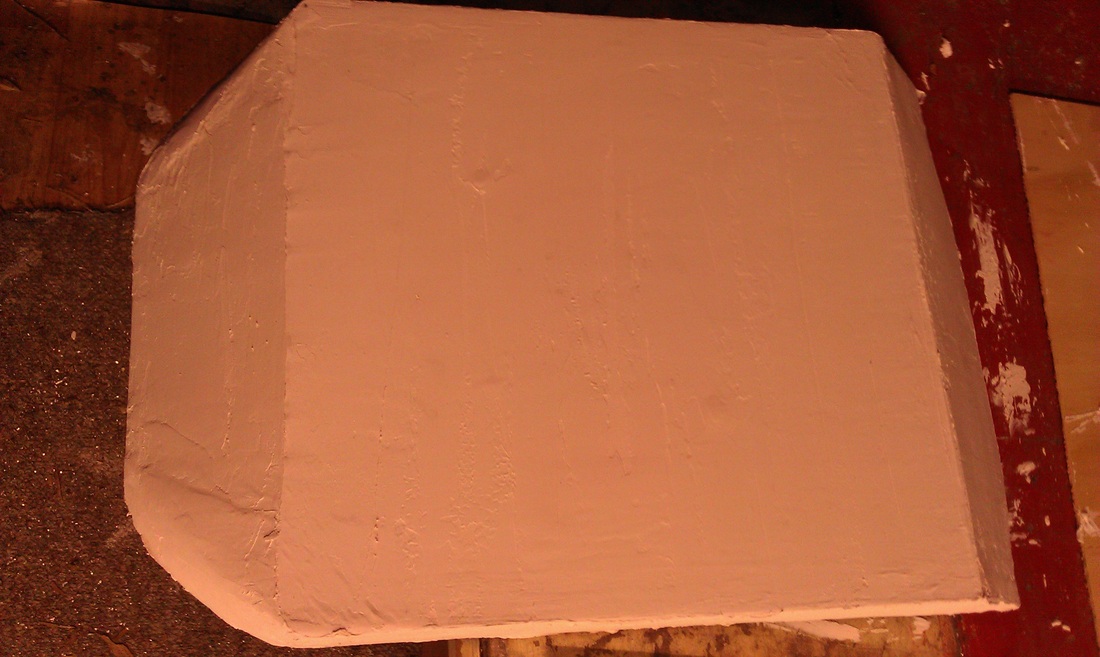 but all in all for a first time the final result is not too bad. i have no idea how to do the next steps but i am sure youtube with have some answers for me haha. i also still have to work out how to attach the fairing to the board once i get the final product complete. 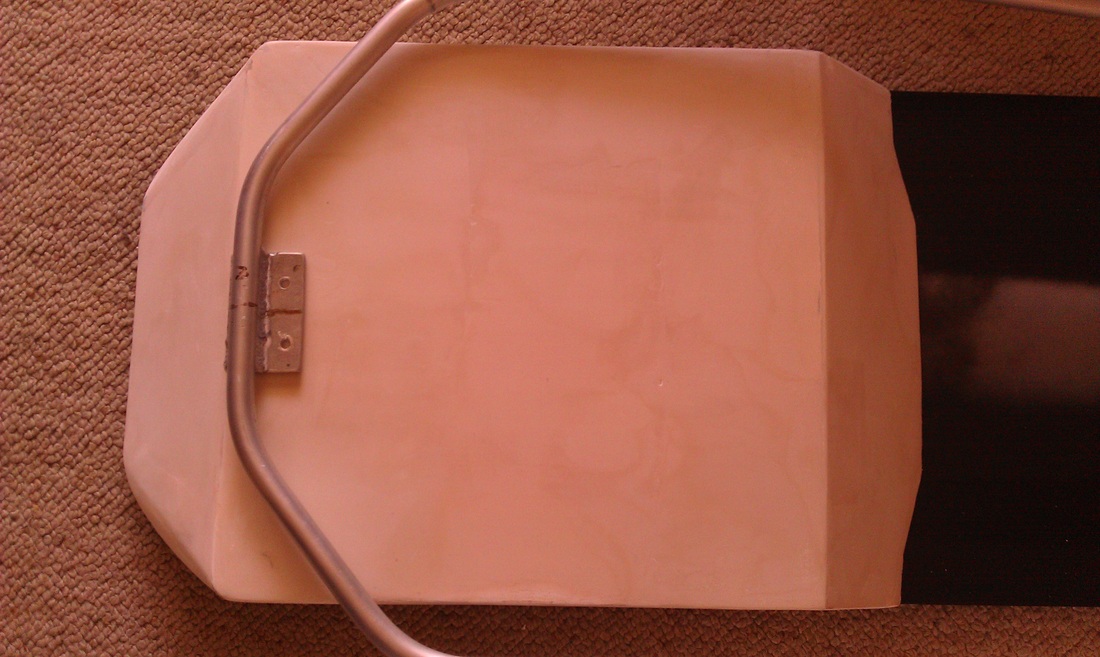 This is just the completed plug. it is what i mold off to get the final shape. 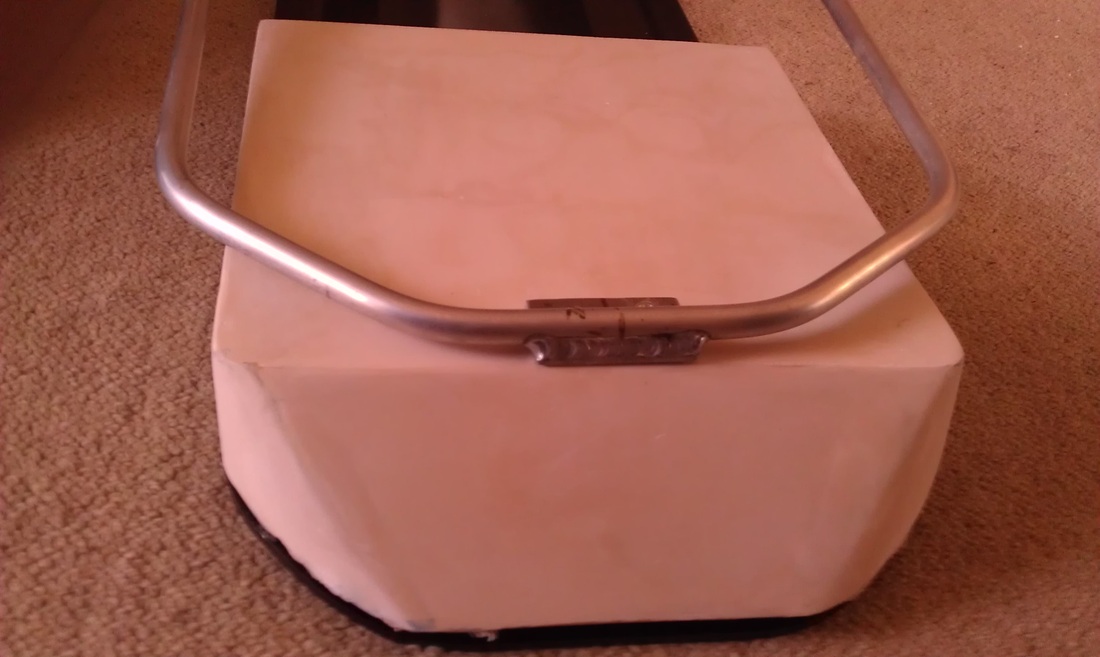 At the end of the day it's not exactly what i want or what i wanted it to look like. but it is something i most definately need. if i can get help i will make a much better one later on.
By the way. did you notice the board is now painted?! yup! just finished it myself after two days of breathing spray can fumes. i did it this way for two reasons. #1: because i'm broke and it was the most affordable way to do it. i got a quote from the powder coaters and it was rather too large for my anorexic wallet. #2: if i get a ding or a scratch i can easily go to the store and get some touch up paint to bring her back to looking all evil again. the middle of the pan isn't painted as i will be trimming it to make it a little more comfortable to ride and allow a bit of grip for control. this moment has been a very very long time coming, today with only a few hiccups we did the first start up test of the starboard side engine. we tried it the first time and things went kinda wrong and it then wouldn't start again. it turned out to be two relay switches. these control the starter motor allowing the engine to spin up to speed. After a quick spin down to the auto parts shop i managed to get two new relays and install them and below is the result of years or hard work and lots and lots of debt. the film begins just after we did an ignition test and we just decided to go all the way. you will see a lot of smoke coming off the heat shielding this is normal. the engine was only spun up to about 30% capacity as we were unsure of what it would do.
if you have any questions feel free to ask away. also please like and please share. The last week or so i have been a very busy boy. i have even had to miss out on streetluge ride day with the guys. the sacrifices we make huh. well the reason i have been so busy is i have been trying to get as much done on the jet luge as possible so we can do a start test on it. well, this weekend we have moved even closer to that goal with allot of the wiring being laid out. there is very little room for any of it to be honest and i still have to fit in six fuel pumps, five batteries and a heap of fuel lines. where is it all going to go? at the moment i have no idea. this week will have me in the shed laying out all the wiring and trying to hide most of it and trying to make it fit so we can have room for everything else. Oh! did i mention i also have to try stop it all from melting or catching fire? yeah there is a small risk of that happening. being that the afterburners sit on top of every bit of electronics and fuel line the board has. the temperatures expected to radiate off the after burners will be in the 1500 to 2000 degrees celsius area. have a look at the photos below of what i will be dealing with. 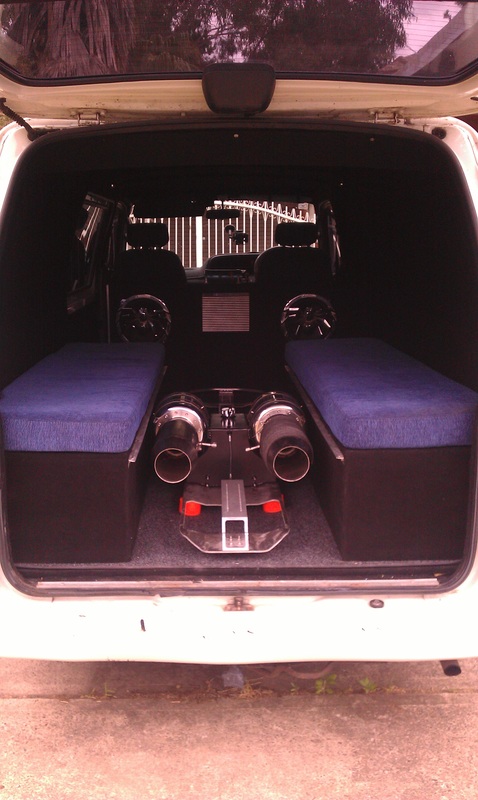 Transporting the jet luge from place to place will not be a problem. as you can see my van look like it was custom made to take it. it wasn't but i am lucky that the Guinness World record rules state that the board cannot be wider than 60cm. 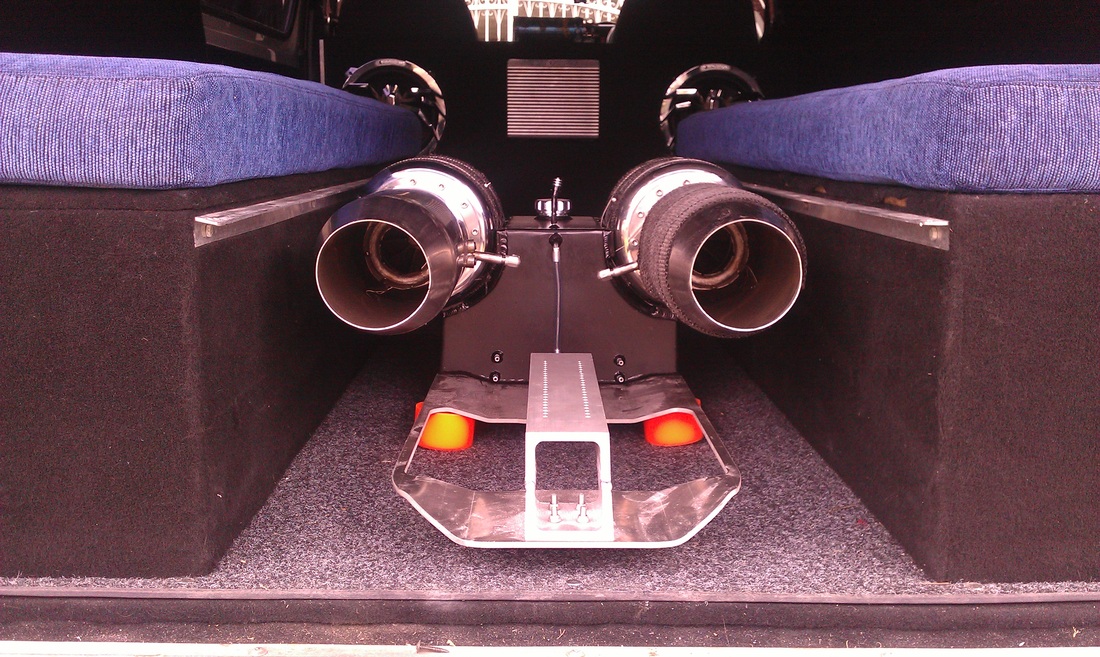 You can see buy the wiring below i have a bit of work cut out before me to hide all this and find it a safe path away from heat and safe from any possible damage. 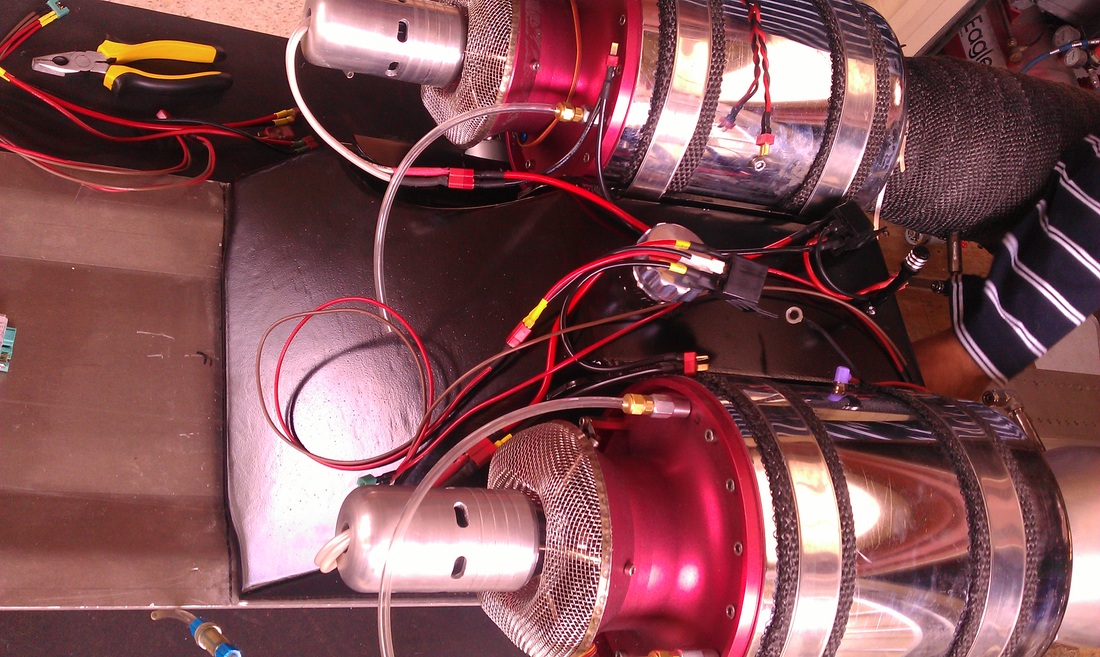 Once i get it all laid out an in place i will show you photos of which does what on the board. we are still working out how to mount and set the forward controls. i will also be running a remote cutoff. 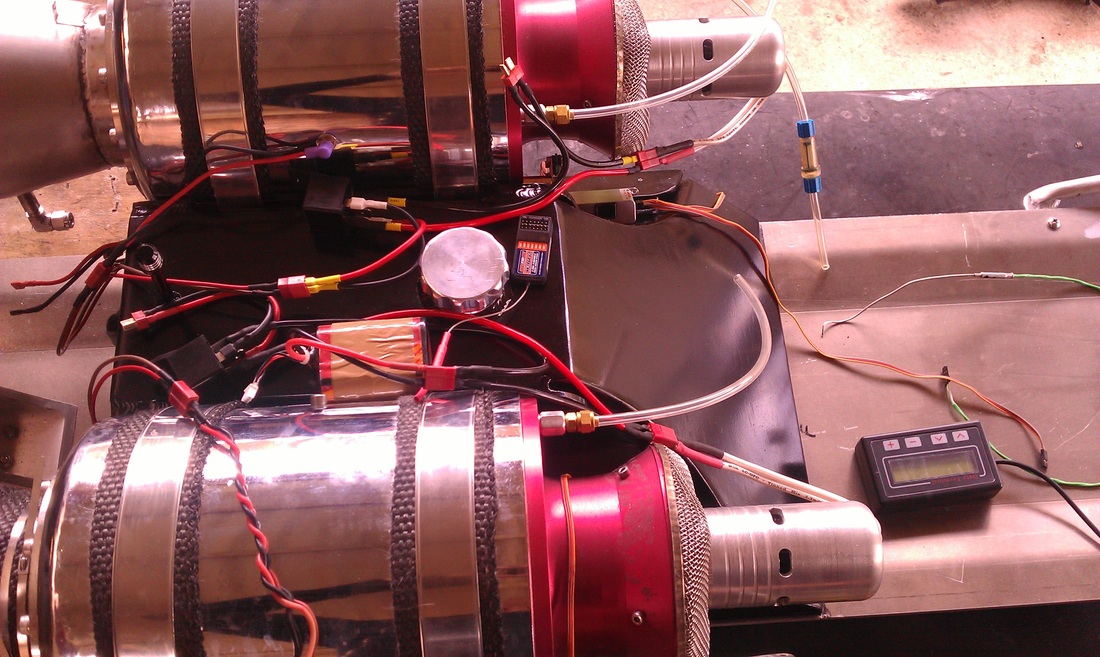 As a little surprise i did a video for you all of us testing the synchronizing of the turbine engines. the engines push out a huge amount of are even at 3500rpm. i can't wait to have them at full throttle. The test went perfect and both motors start exactly how they should. one problem we found is that the port side motor is sheering on the afterburner at startup. though it is not too bad i will have to work on the afterburner a little to fix it. when heat gets into the engine and afterburner the expansion will start to cause major problems. not a good thing when you want to run a motor up to about 55,000rpm. other than that all i got to do now is tuck a lot of wiring away and do some soldering on some lines and she will be ready for a test fire.
Well we may not be rolling but we just maybe running at any minute. i thought i would share with you the latest photos of the jet luge in it's current state. there is still allot of work to be done but all the major stuff is over and done with. soon i will have it wired up and i will be test firing the engines. you may notice that the fuel tank is now completed and ready for filling. 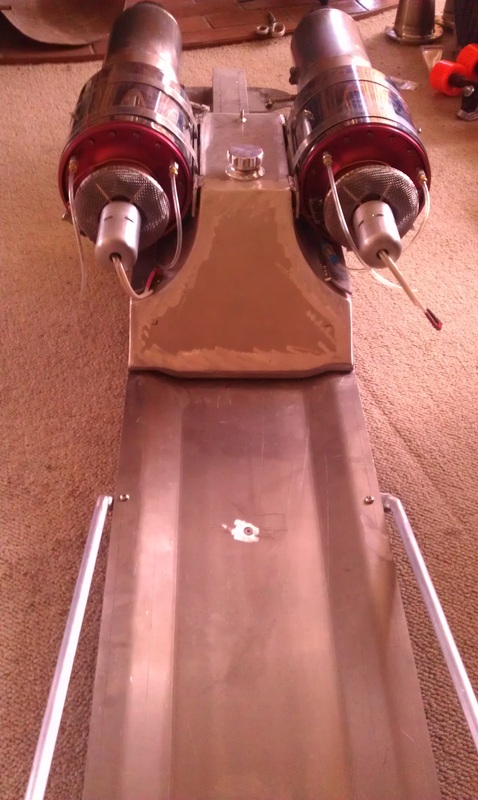 I am very happy to say i am just 3cm within the 60cm width allowance for the entire width of my luge to be eligible for the Guinness world record books. this leave me with a whole centimeter and half on either side to play with. i'm so excited i not sure what i should do with all the space. suggestions anyone? 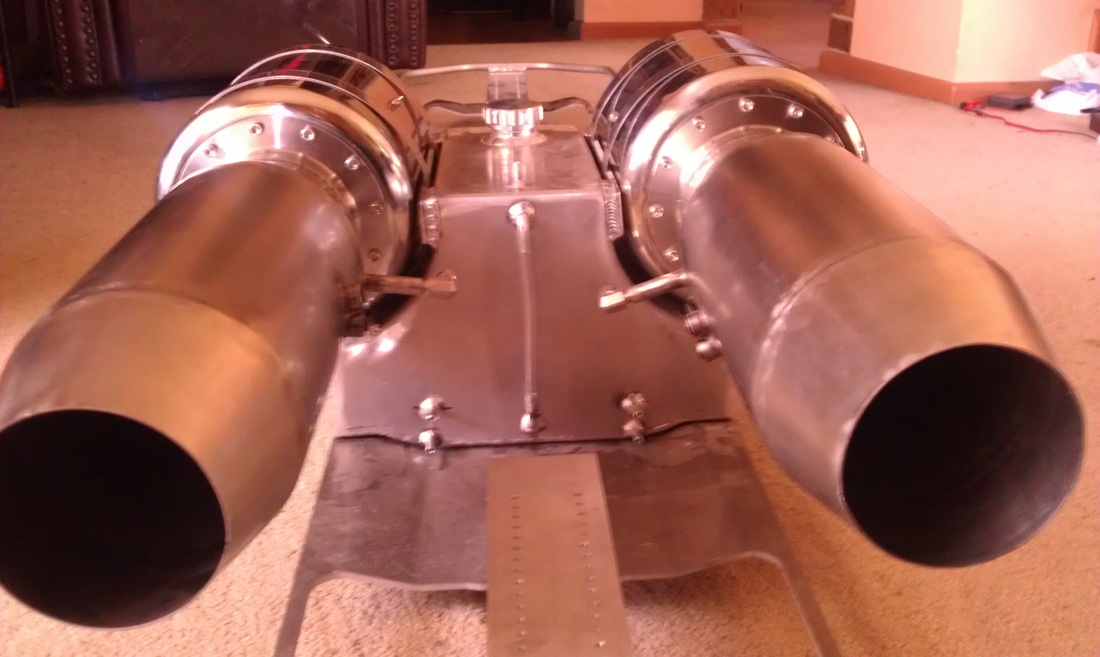 You can fit your entire fist into the afterburners. that is if you want to pull back a cigarette stub of an arm in less than a second.
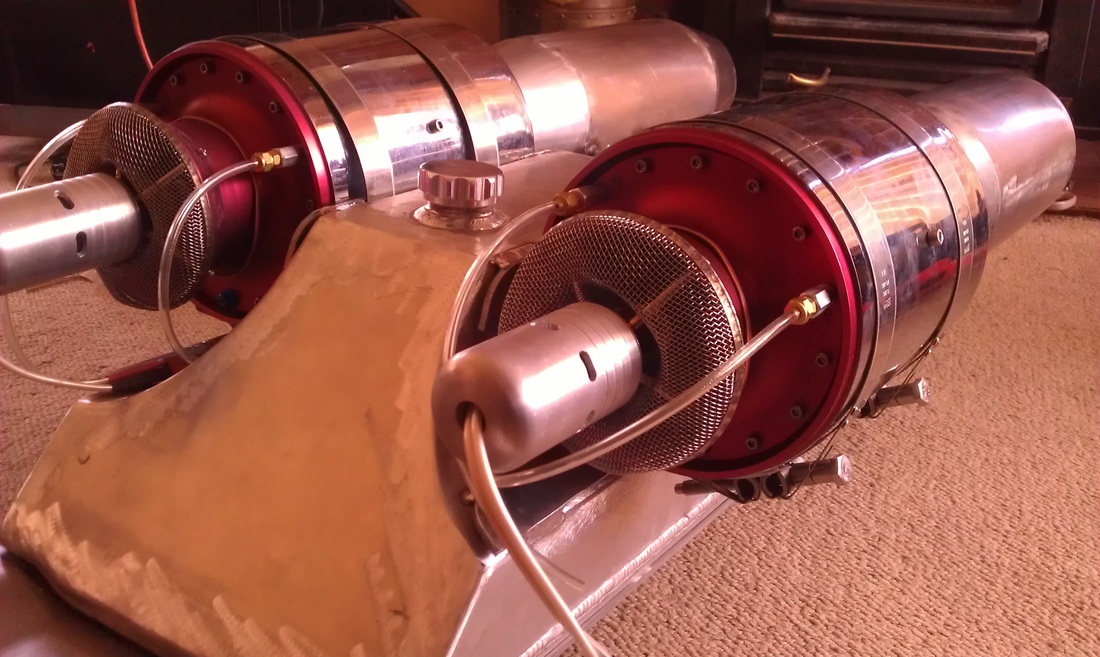
You can see the symmetry in engines A and B. it is a beautiful sight. i now just have to get some heat strapping in and they will be complete. 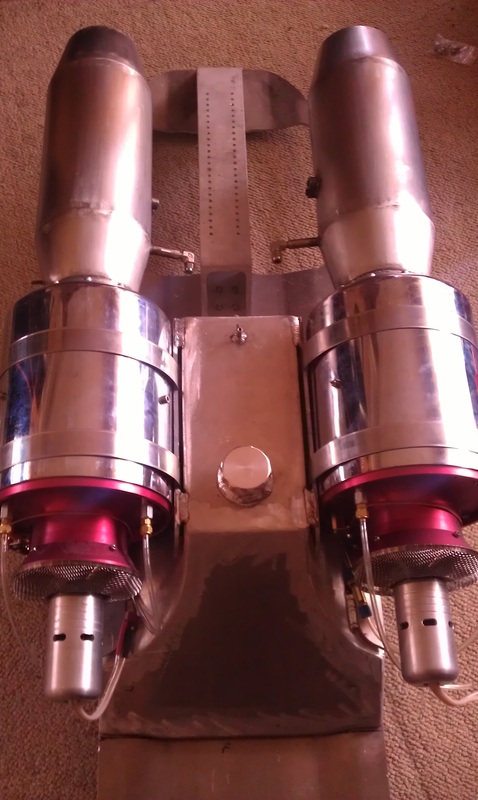 Top dead center. you can see where my head will rest in between the starter motors at the front of the turbines. little known fact is that about 70% of the noise produced from a turbine is produced from the front compressor. i need a ear plug sponsor i think haha.
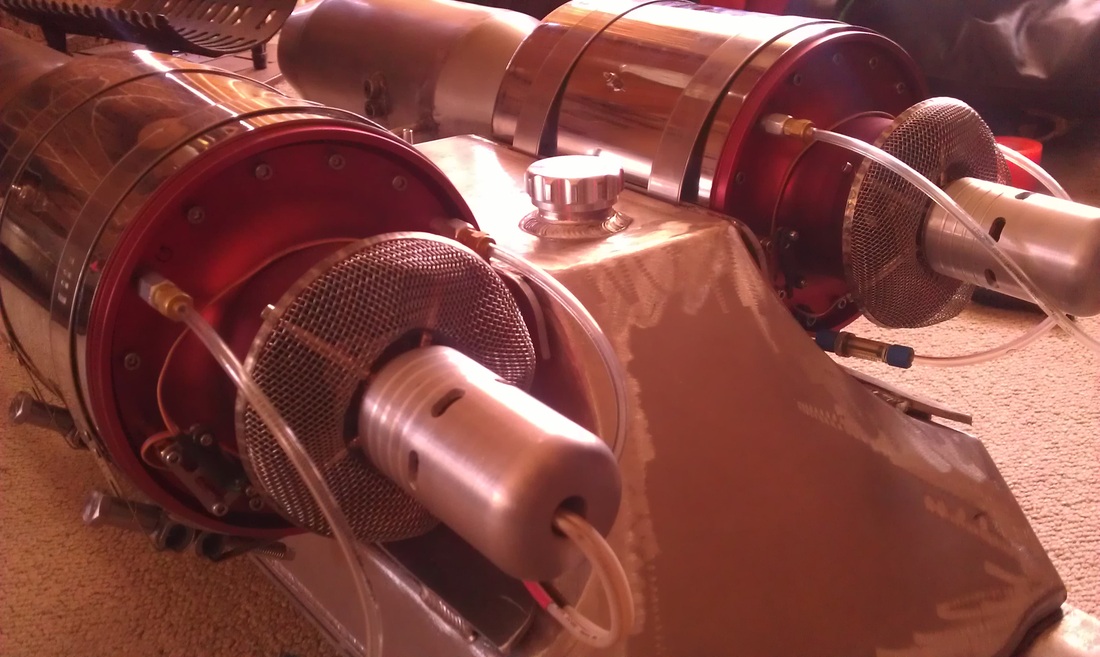
If you have any question at all or if i have missed anything feel free to ask me. And don't forget to click the like button below. thanks for dropping in. Can you feel that? No!?! oh! well ok... what i am trying to get across is the feeling of anticipation that myself and some other must be feeling leading up to the completion of the jet luge. i have been ripping into it hard to try get this thing done and the spoils of everyones hard work is showing off. have a look at the pictures below. Brett, my good mate over at AusJets did an amazing job and got the afterburners attached to the motors. there was so much work needed on getting them fitted he truly is a god. the next thing, you know that comes, is testing. hehe this is the fun part of owning any turbine engine. 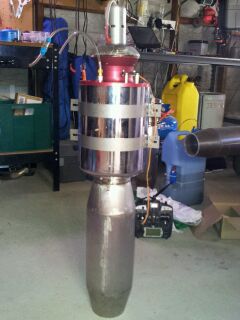
but with any fine motor you need a fuel source and to hold that fuel source you need a fuel tank. Josh at All Aluminium Welding has been killing it and come up with this piece of artwork you see below. it is almost done. this was taken from my original and one off design. let's hope it work huh haha. 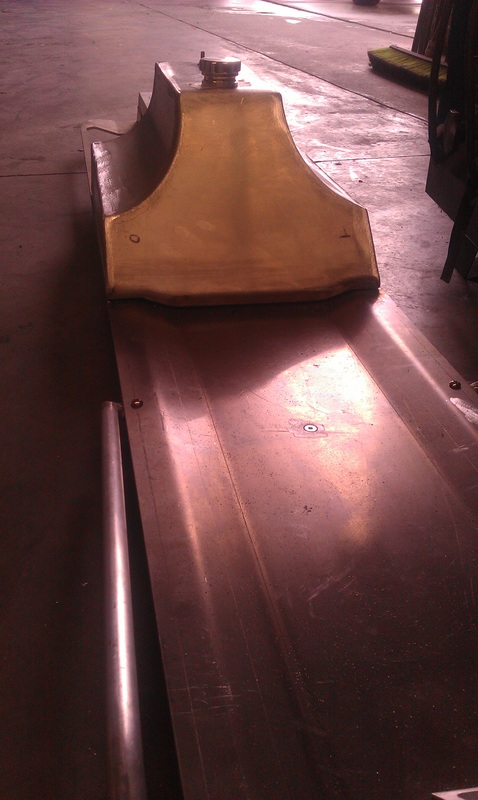
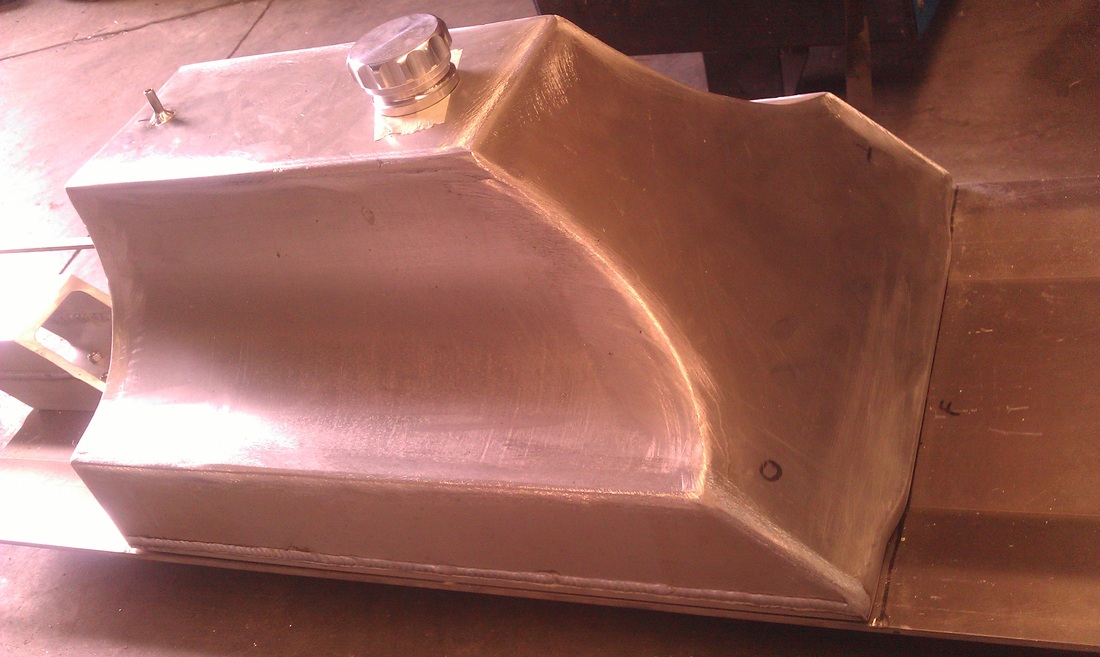
Above you will see the filler cap and breather valve for the tank. the cap is yet to be welded in place and i am working on a mounting system for the turbines as i type. 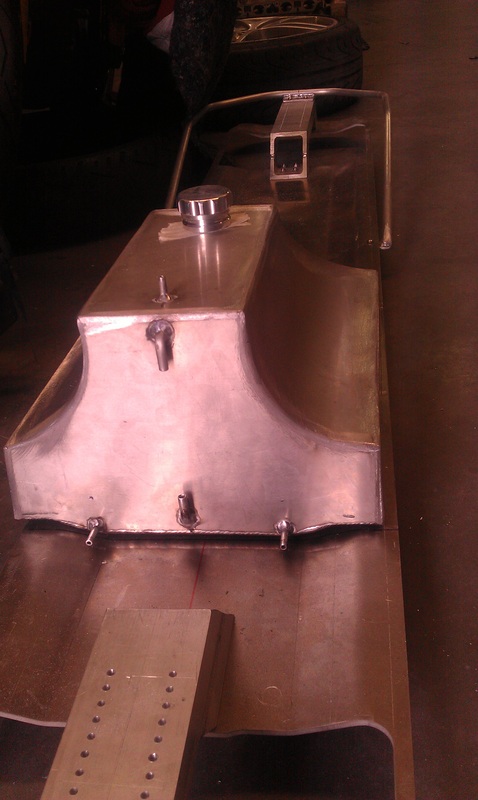
In this shot you will see the the fuel pickups for the turbines at the very bottom on the left and right of the tank. the pipes you see in the middle that are bent to face each other will make a sight glass. this is done by putting a length of clear hose in between them. kinda how they did it back in the day on the old Bobber motorcycles. OLD SCHOOL BABY! haha. 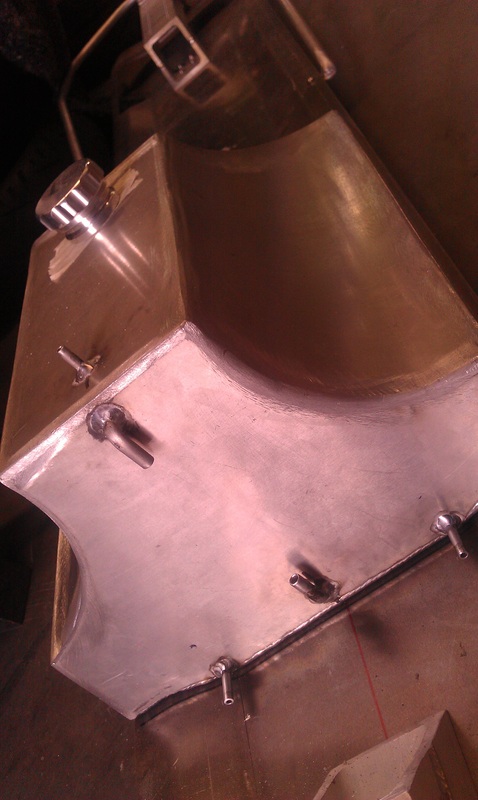
The entire tank is held to the board via six stainless steel bolts. this are some heavy duty bolts and i did kinda go over kill on them but hey i never have to worry about the tank separating from the board. that job is left up to me. lets hope i never do separate from the board. 
Above you will see The man Josh that has done all this fine work holding what will soon be the stupidest thing i have ever done. i can't thank him enough for the amazing work he is doing.
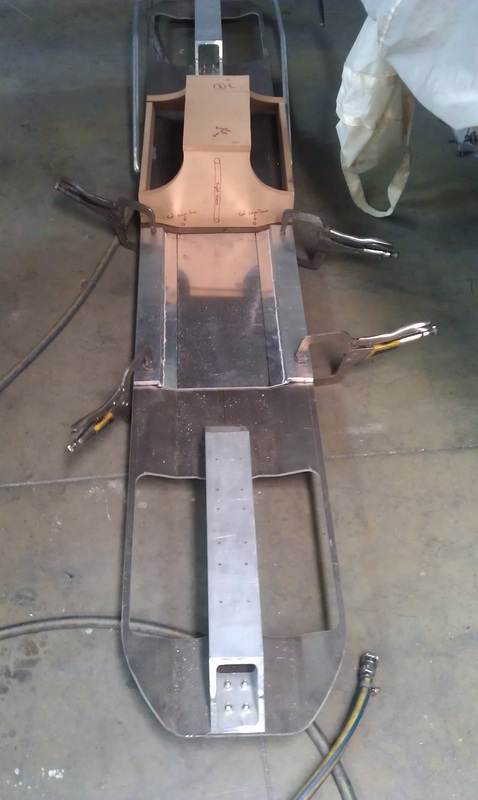
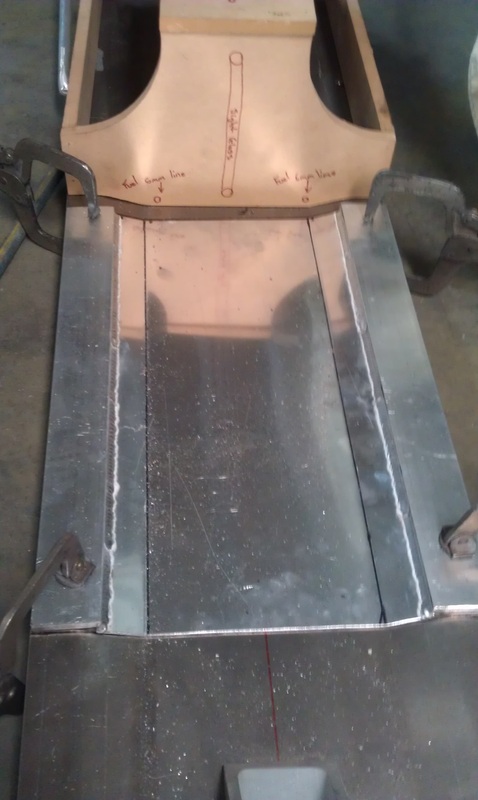
Well, thanks to a great guy and some handy helpers i have been able to get my alloy rolled for my fuel tank. Arthur down at ABS Air conditioning and sheet metal services in Chipping Norton in Sydneys west lent me his factory and a couple of his workers today. In no time at all we had the alloy cut and folded. below are a couple of photos from the job. 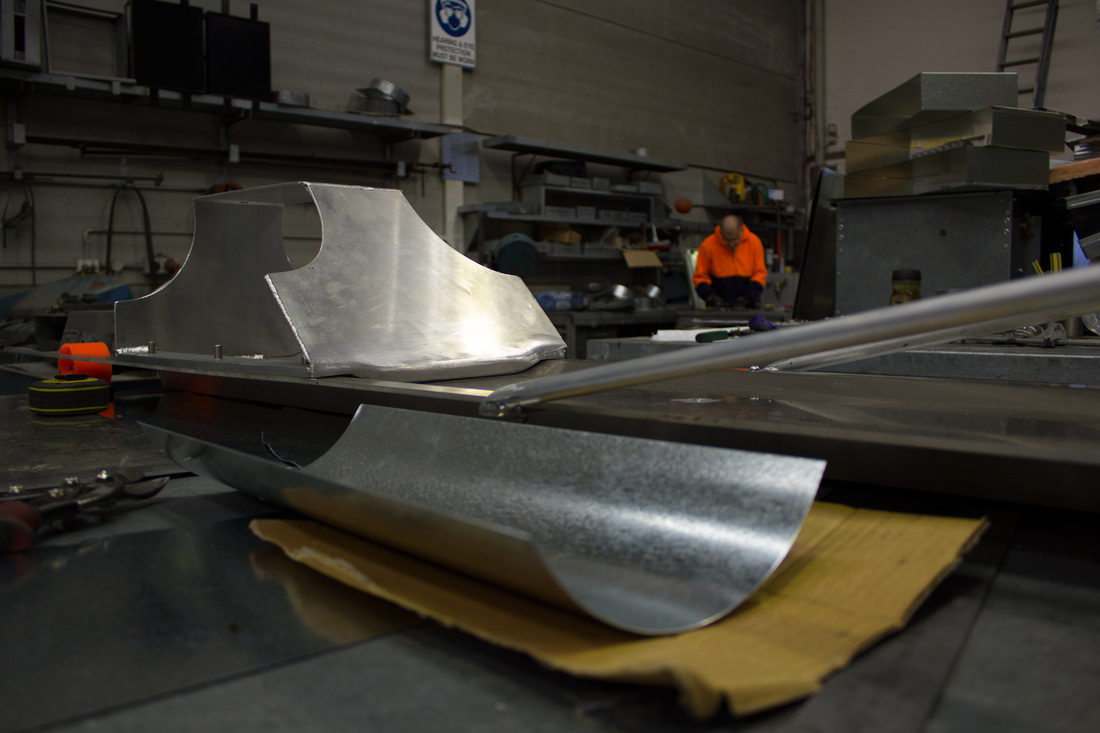
Above you'll see the sheet in the foreground we used for the template we didn't want to stuff up the alloy. i had one shot at it as i couldn't afford any more sheets of alloy. as it was i was using off cuts. Yup! a precision jet powered board made with off cuts and scrape haha. 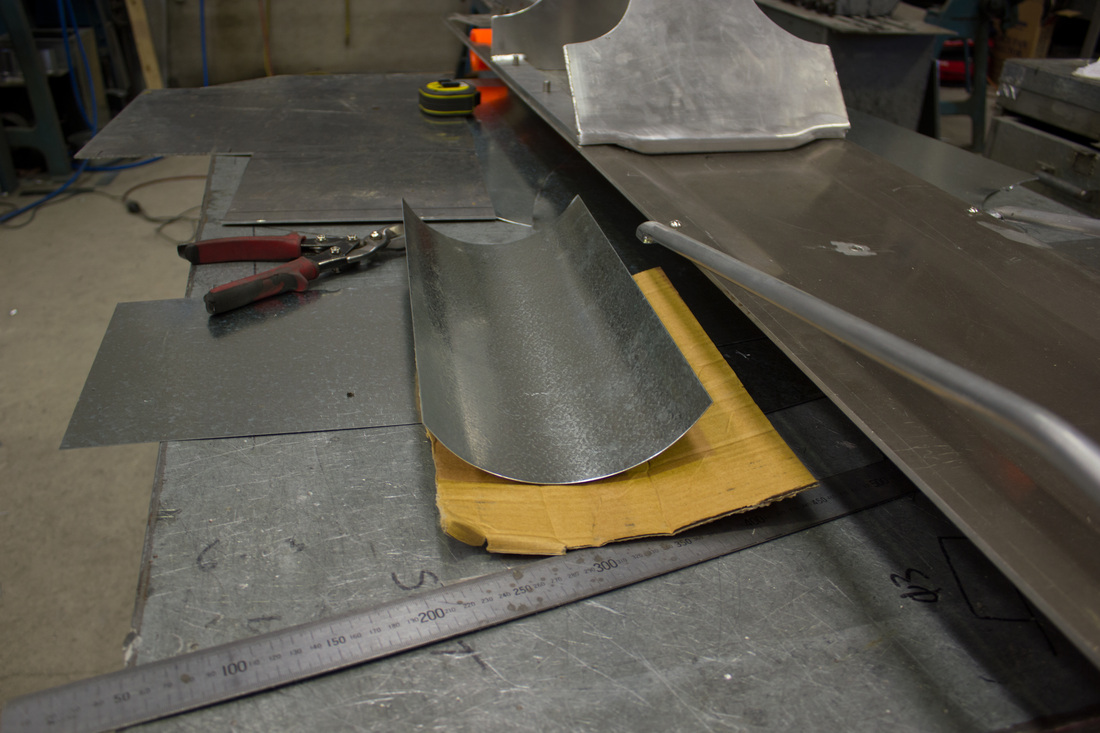
A bit of a better angle for you to see the tank and board with the curve that will sit the engines once they are fitted. Below is how i tend to spend allot of my time when someone sees me pulling this thing from my car. Funnily enough just like me everyone can't wait to see it going. I also have to have a shirt made up. saying two things. WHEN? soon. WHERE? i'll get back to you on that. if you can think of better let me know haha. Oh! if you're wondering that is a turbine in my arms in a plastic bag to prevent ditry and what not's getting in it. 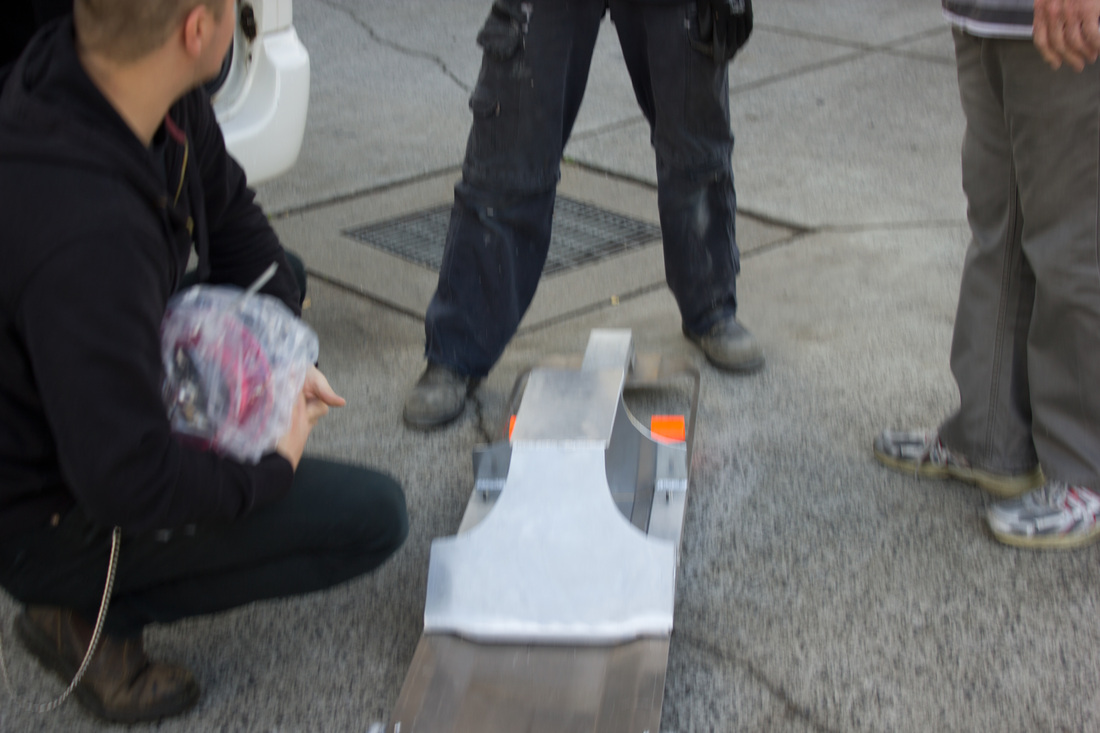
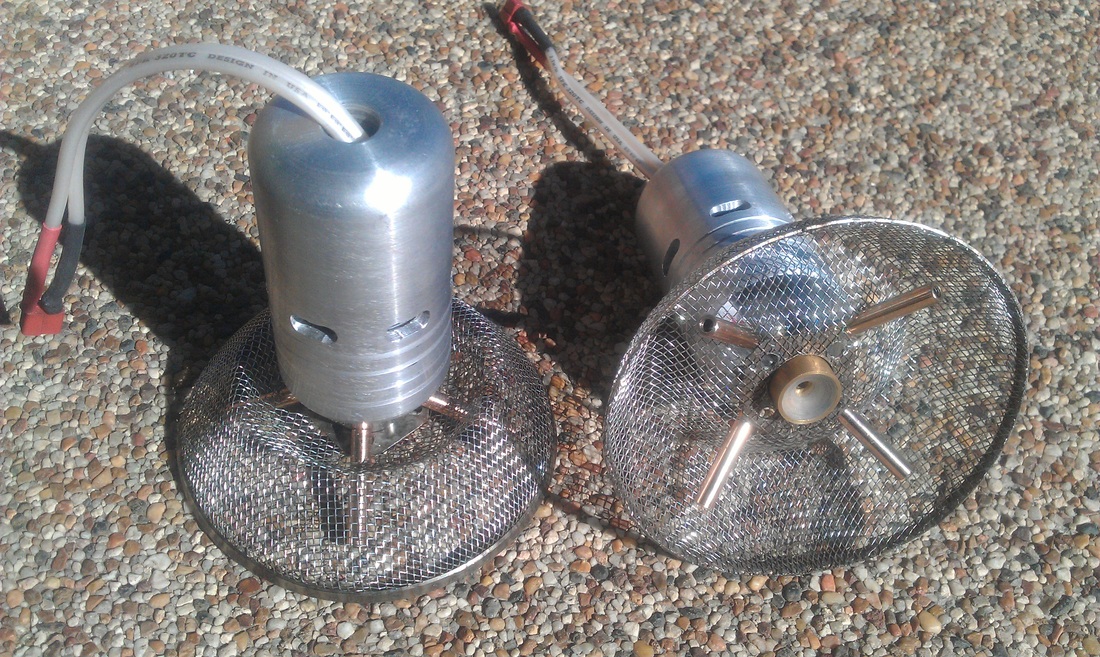
Well i am still working away and ebbing ever closer to a completed board. yesterday i finished putting together my Intake screen and starter motors. For those of you who may not know, the intake screens cover the intake of the engine and prevent intrusion of foreign bodies into the turbine. things like sticks and stones will hopefully be caught by the screens before they can cause any damage to the compressor or any of the impellers.
they may seem simple. but they can save me a fortune on having to rebuild two very expensive motors. Now all i have to do is finish my fuel tank and we can begin rolling tests. Oh! i forgot to tell you. we have had to make some alterations with the afterburners to have them fit my motors. in doing this we also had a great idea. we will be converting my afterburners so i can run them with a hot streak. basically what this means is i dump a stream of fuel directly into the engines combustion chamber via a little pipe. it then ignites and exits the rear of the motor to be met in the afterburner with another massive fuel dump on which it then ignites that fuel. basically what this means is i will be using a massive amount of fuel haha. when we start the conversion i will go into more detail with photos to help those of you that still may not know what i'm on about. but the end product will make for less wiring and hopefully a cleaner burn. testing on this will be done prior to mounting them to the board. so some video's will more than likely be on their way ;) thanks again for reading and please share my blog. p.s. i am also keen to take on a charity and help out a good cause, if anyone knows of one that would be interested in working with a jet luge world record attempt i would be most interested in speaking with them. i have had knock backs from almost all major charities and none replies from the others. The reason i have been getting is, they cannot side them selves with motor sports or dangerous events. this i can understand but i would still be very eager to work with a good charity. If you know of some one or are someone please contact me here Well were on our way, we are so close to having a running twin turbine jet powered luge or a Guinness World Records puts it (powered streetluge). What ever it is i am looking forward to just running it in and getting all the bugs worked out of it so i can take it up to speed finally. I have never classed myself as a builder. i love riding and it is what i would do everyday is it afforded me to. But we gotta do what we gotta do to fulfill our dreams. Building is mine. Josh over at All Aluminium Welding has been working his butt off lately and while doing this has also been working late just to get the fuel tank for the Jet Luge complete. While it's still in it's very early form as of yet it should be completed in two to three weeks with any luck then ready for the motors to be fitted and tested. I', sure you as egar as i am to see this kitten purr. stay tuned and feel free to purchase something from the shop.
 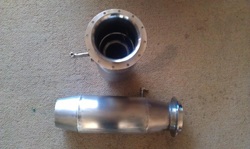 For those who are trying to work out what these small unassuming cylinders are, i will give you a hint. They will increase my turbine power output buy at least 30%.
If you guessed they are pressurised rotisserie cookers you maybe close. But then if you guessed they are afterburners you guessed right the first time but will not be enjoying any kind of pressurised culinary delicacies. What these babies do is mount to the rear of my engines and help to re-burn any un-burnt fuel and oxygen by injecting a large volume of jet fuel into them in a very small amount of time. this then ignites, and the by product is a massive power boost. To give you an idea of what kind of power i will be working with, lets say your average power output for you family car is about 140 horse power (this is being generous). what the afterburners will do in combination with the engines at full power will create roughly about 400 horsepower. now with a board weighing less than your average 3 year old toddler and a pilot weighing in at around the 85kg range. combine this with two 12 foot flames out the back of the board and you are looking at a whole bunch of excitement. Oh! i forgot to mention. While all this is going on i will also have my head resting on about 15 litres of A1 jet fuel. as there is no other place on the board to store that amount of fuel. This will provide me with about 2 to 3 mins of run time. not he best choice of efficient transportation i must say. i will leave it here but make sure you keep checking in as things get closer to actually mounting and running both the turbine engines. Also please remember to like and share my blog with others. thank you for reading. |

Partners:


Supporters:
Archives
August 2016
Categories
All
|


 RSS Feed
www.jetluge.com.au / CONTACT |
© Copyright JetLuge.com.au 2009-2016. All rights reserved.
|