|
So much work, so much time, so much money has gone into this moment. i am very happy today that i have had my first successful start and run of both turbines. i spent a very long last couple of days in the shed wiring, rewiring, stopping fuel leaks and tightening up loose nuts and bolts. all for the next two minutes you about to see. i'm still a little lost for words as i now know i am much closer than ever before to running the board for rolling tests. it's not through fear that i am lost for words. but more the excitement. 200kph here i come. on a side note. shortly after the first test i did another test that was not filmed. during which time the RPM sensor lead was inadvertently sucked into the intake of the Port side engine during ramp up. this was due to the fact i had the intake screen removed for testing of a new starter motor. this means this engine is out of action till i can fix the RPM sensor or source a new one. it's all good. i will have it done in no time and be back with even more power very soon. 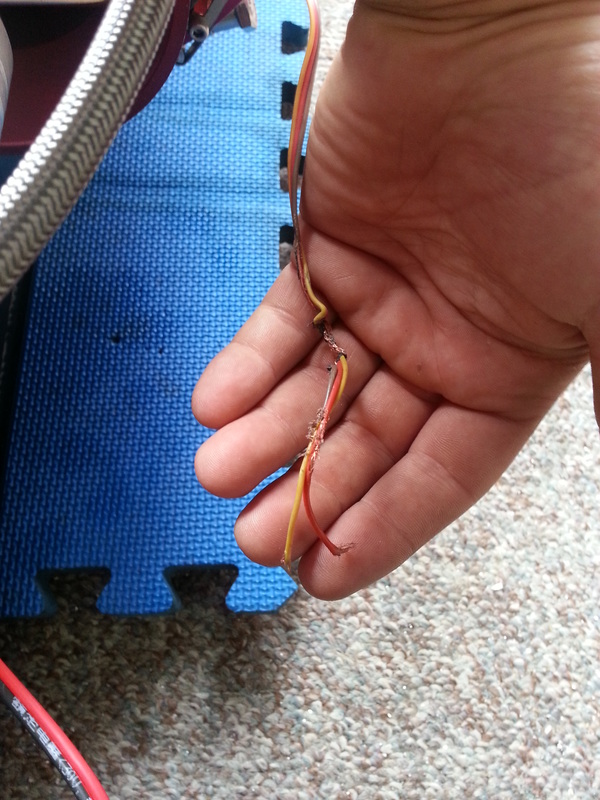
After weeks of working, waiting and wiring I have finally done a successful start test of both engines. I am happy about this because it means I am now ready to try a full twin engine run. Those of you following the blog will know I have been hard at work building the housing for all the electronics and pumps. this will come into play once I start both engines. the heat from both is going to make things rather warm back there. After this I will be able to finalise allot of things on the board to make them ready for rolling tests. once I have that done I can start on making the afterburners functional. that is when the fun begins. I have been looking forward to getting my go fast button done for a very long time. who knows, I could hit it and set everything up in flames HAHA. Any way, enjoy the clip below. well i would like to first welcome you to craft corner. this week we will be baking a cake. this cake can be used for many things. but this one. i think we will use to house electronics, batteries and fuel pumps and lines for two turbine engines with afterburners. to begin. lets get a nice foundation to work with. preferably one coated in bulletproof kevlar to help prevent any intrusions in the event of a katastrophic failure, protecting the most important electronics and pumps. atop that foundation lets rough out the side walls and compartments we want to house our sections. you will see this below.  once you have them in place fibreglass them to add strength and rigidity. 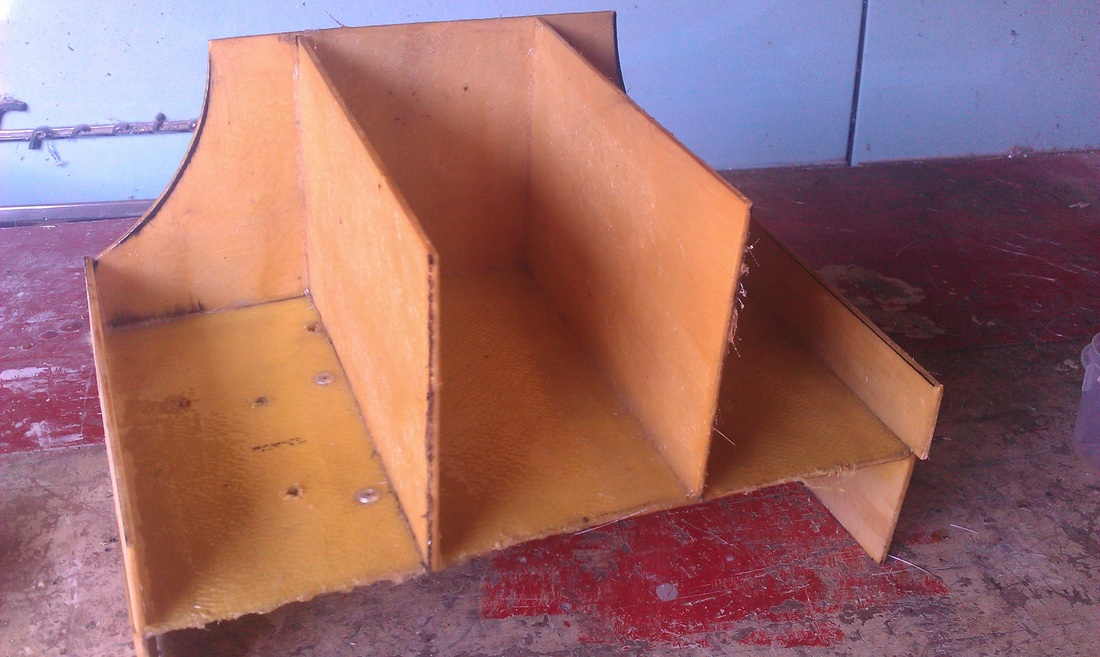 once you have cemented your foundation and side walls a roof would be a nice thing to top it off. make sure you make a nice curve with enough clearance for the afterburners. also keep in mind you need to allow enough space for heat shielding. also allow a mounting point at the rear. 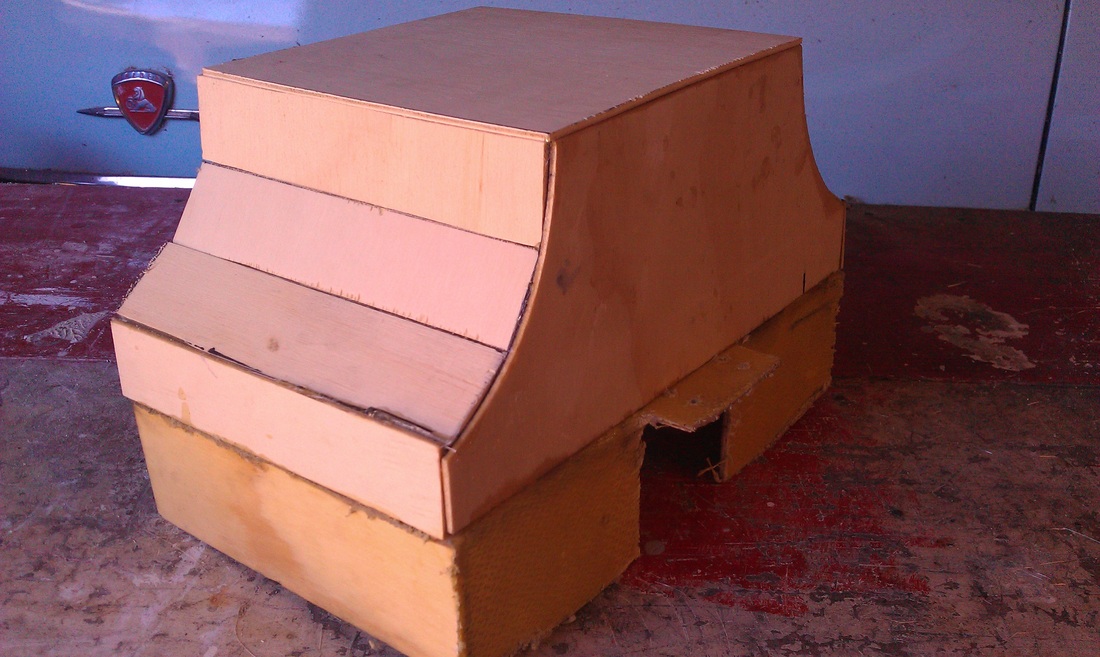 make sure you leave one end open so you can allow for the electronics and fuel lines access to the cake. this cake will then also be pressed up against the fuel cell. this will cap the end off on your cake and make a completely enclosed layer cake. make sure you make the housing cake slightly smaller than the fuel cell. this way it won't catch any air at 200kph and try fly away. looks are not important. function is the key here. light strong and safe. remember, we are on a diet here. 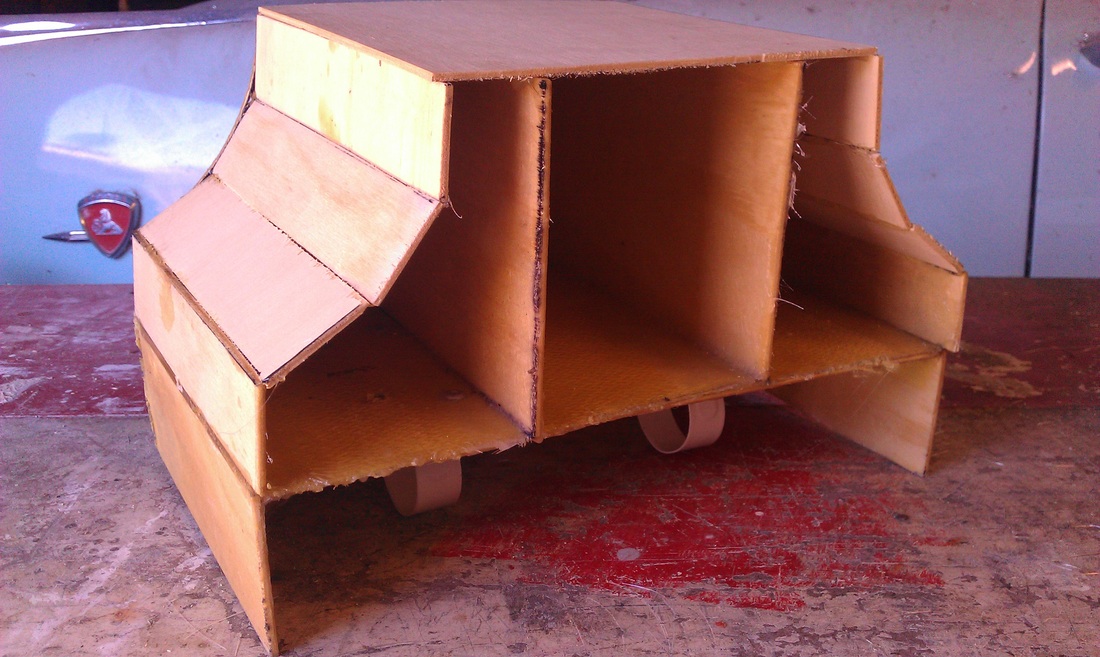 ok. we now have our basic cake looking like it should. now we fibreglass the outside to add some strength. let it dry and harden before moving to the next step. remember not knowing how to fibreglass should not hold you back. just go right ahead and slap it on there good and proper. 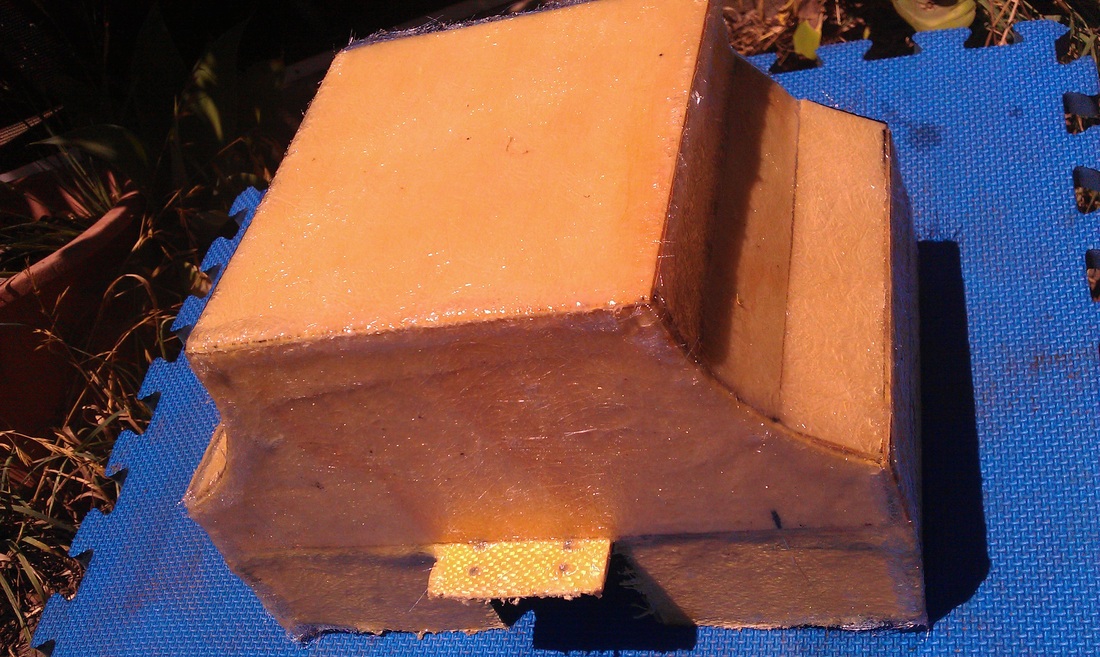 now some of you maybe asking. how do we access the electronics and batteries. well this next part is were we put in the hinges. cut along the seems of your cake. remember. only use parts that you can afford and can be found around your shed or stolen off the kitchen cupboards. (warning: do not let your partner be aware you have any knowledge of why the cupboard doors now open freely on their own. nor why they won't stay closed like they used to.) 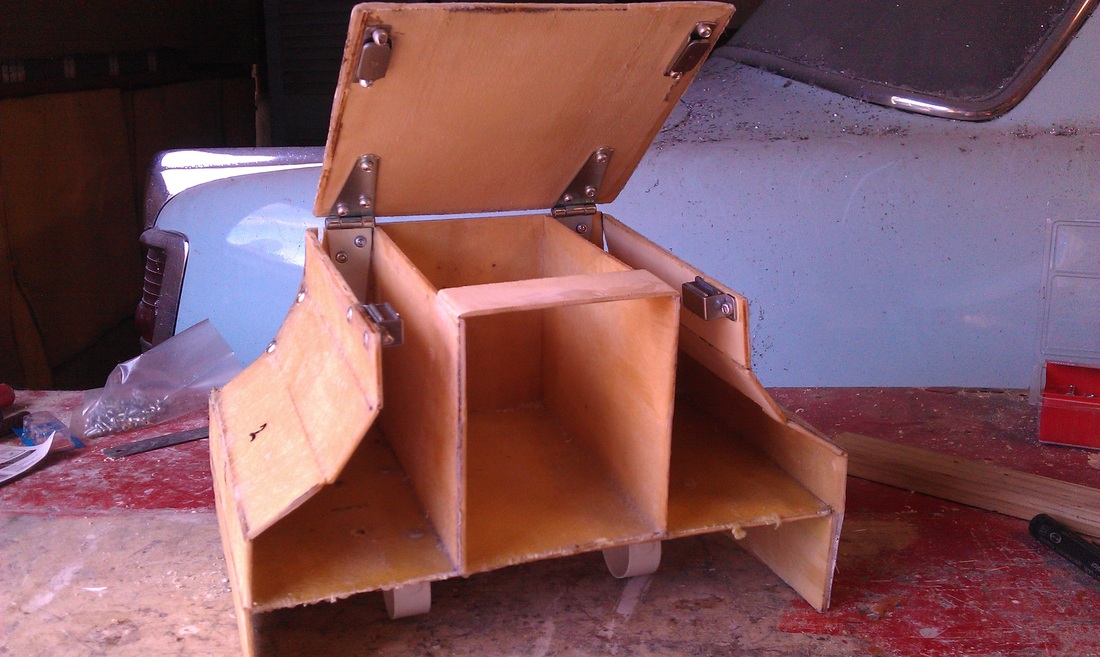 once you have everything attached and you know that your clearances are ok. it will be time to then add icing to this cake. in that i mean heat shielding. 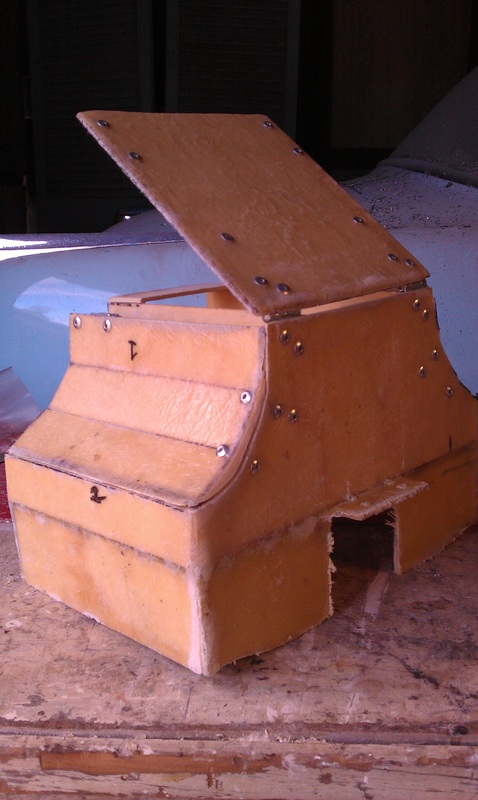 make sure you have an even cover. keeping were the hottest parts are going to be well covered. we want to bake the cake. NOT the electronics ( you will be dealing with temperatures ranging from about 400c up to about 1800c) don't forget to thank the person that supplied you with the icing for this cake. Fitzy from Sydney Australia, your a bloody legend mate. can't thank you enough for giving me something that will protect the heart of my beast. 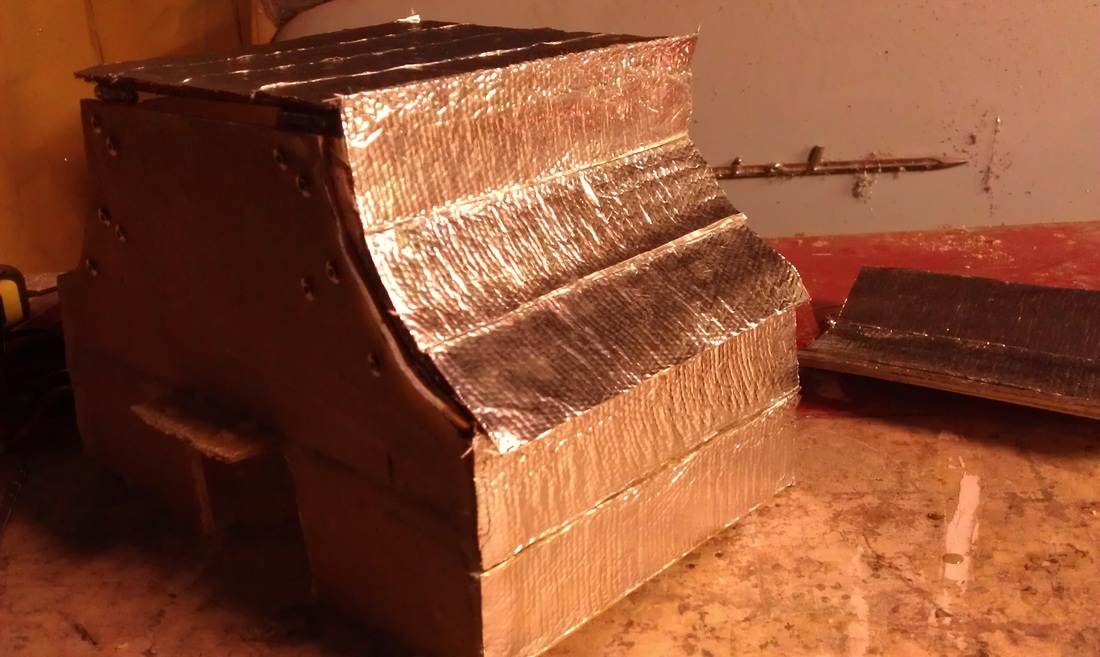 once you have added your shielding make sure it is all secure and in place. then allow yourself about five minutes for fine detailing work and slap a she'll be right sticker on it and your done. later trim the inside to protect the batteries and stop any rattling noises during start-ups. 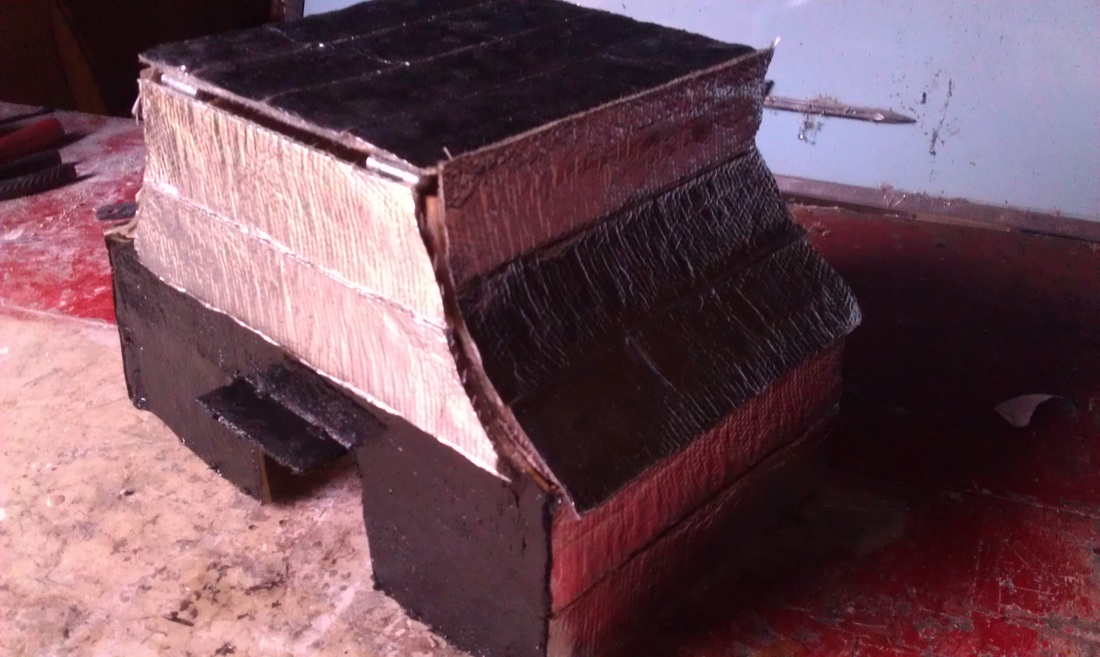 on a side note. some of you may be aware i have been having problems with my electronics. mainly due to relays not being able to handle the heat or the sheer awesomeness of which is the jetluge. i can barely stand for five minutes in it's glow before busting out with a tear. a very small... but.. manly tear. so i upgraded the relay to one that maybe more suited to the job. if you can't guess. it's the one on the left. this one is a 100amps. the last was 30amps. you think it will work? place your bets people. 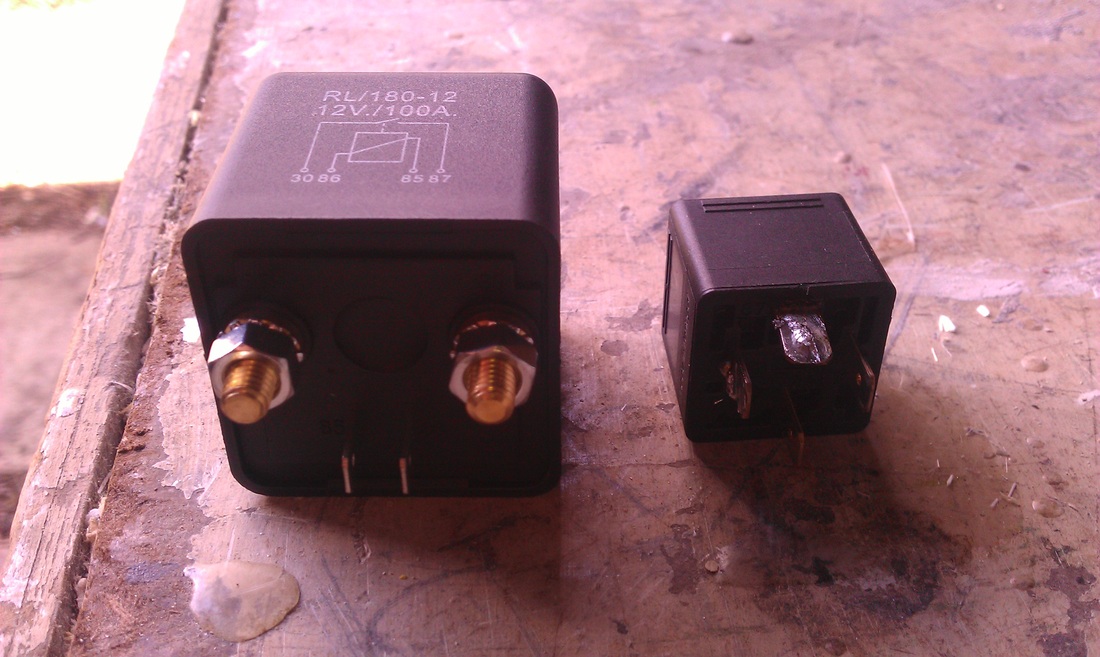 |

Partners:


Supporters:

Archives
August 2016
Categories
All
|


 RSS Feed
www.jetluge.com.au / CONTACT |
© Copyright JetLuge.com.au 2020-2027. All rights reserved.
|