|
It's been a very long time coming so here it is So now i have a rolling board together it's time to wire it up and make it a powered streetluge or and actual jetluge. First thing first. if you get bored easily you might as well cut to the end. if not i'll try to keep it brief for you anyhow. The first thing i had to do was get a throttle control setup for the board. so i ran down to the local electronics shop and purchased a bunch of different size potentiometers. i hate electronics and for the most part it always confuses me. so i tend to take a boring long time to work out and map a plan of attack. 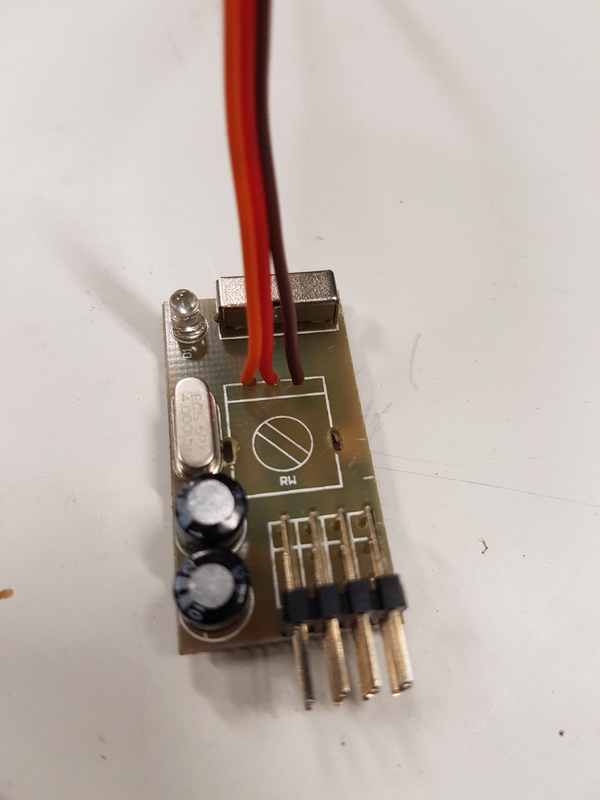 This is my throttle control unit. i got it for like $3:00AUD off the ebays. the wires going into it are my doing. normally it has a tiny potentiometer sitting there. but it was made of plastic and would not be suitable for my needs. so it had to go and i needed a replacement. so... 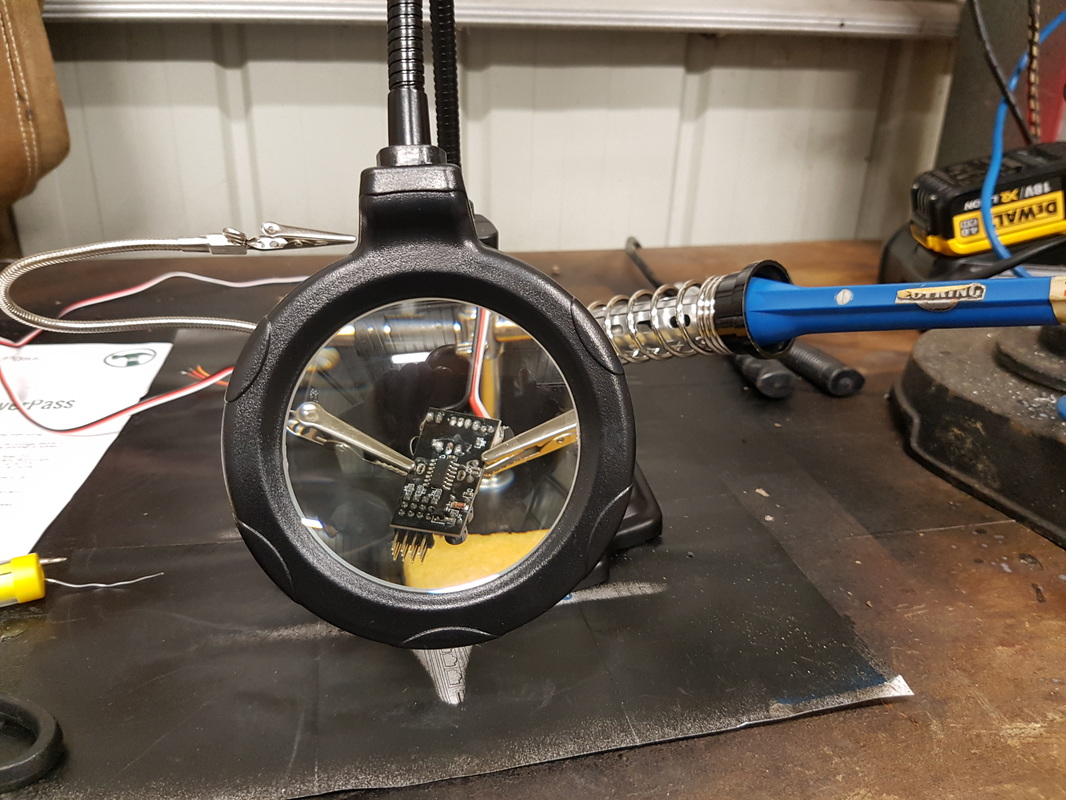 This is the most pains taking part. soldering. i'm not a patient man a lot of the time. but i have learnt patients, and in doing so i have managed to find pleasure in some of the most tedious tasks. i have found i do love customising anything i own. once the wires were connected. it was time to see if everything was still working, hoping that i didn't cook any of the electronics. not everyone has and extra $3:00 laying around if i stuffed it up you know! Once i knew that the throttle worked all i had to do was program the computer so the turbine would know what the hell i wanted it to do. Now that everything was calibrated i had to do a test. this meant running the board. i was very excited and nervous for this part. my history with turbines has not been the best but as if i was going to let that stop me. below is the very first start of the jet luge in it's basic lay out. nothing mounted to it's final location except the turbine. One of the best things about working monday to friday is that it takes your mind off the steps between what you are really working for. i love my job more than any job i have ever had. but i work so i can follow my dreams and enjoy life with those around me. This weekend the final piece arrived to get the board put together. i still have a long way to go but i can finally see if everything i have designed will fit together. Lucky number 7. Seven pieces is all it takes to have your very own jet luge. sure i could have used less. but i have always liked the number seven.  Below is the layout of everything how it needs to sit. nothing is screwed in or on. i just wanted to quickly see that everything was ok. 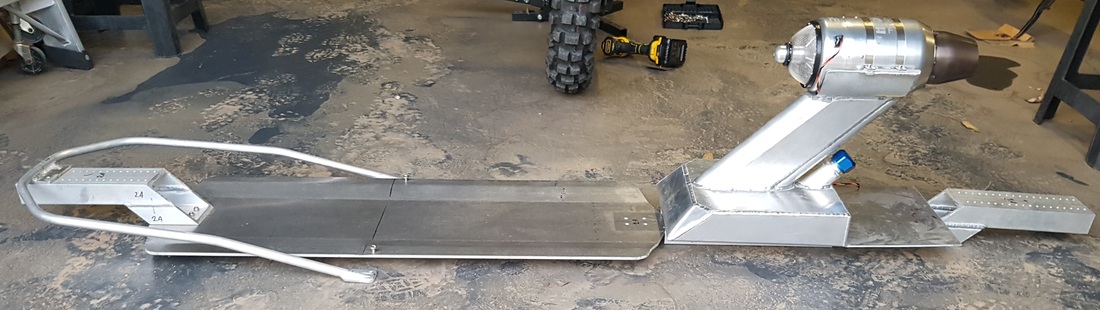 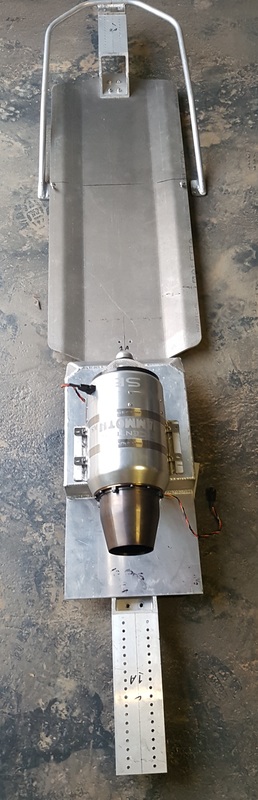  One of the first things i had to do was work out where and how i wanted to mount the tank to the chassis. i had a pretty good idea of what i wanted to do in my head before hand. I just needed to see that it would work in the real world. to do this i used some pieces i had laying around to mock up the position of where the tank will sit on the board. 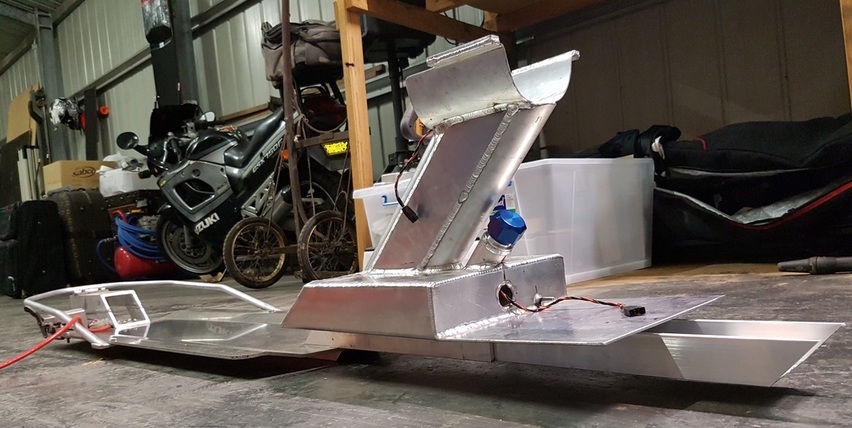 With the tak sitting nicely i had to make sure anything i used to mount it would not impede on any of the electronics or battery. this is the slowest part. you lay it out. see a possible problem. lay it out again. see something else. stare at it for like an hour or two. go away come back and stare some more. once you drill that hole or make that cut. it's there for life. Like any good tattoo. i will always take as long as is needed. 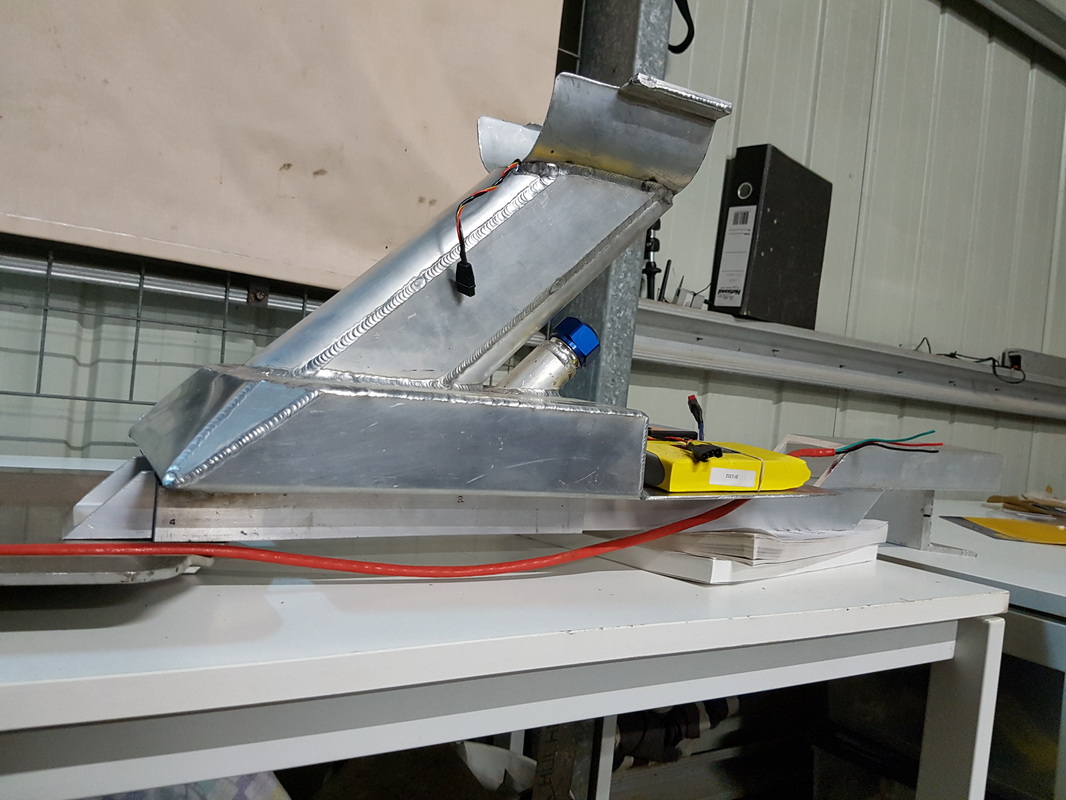 Once i was sure of the layout. i could now start to hard mount everything needed to make the rolling chassis.. 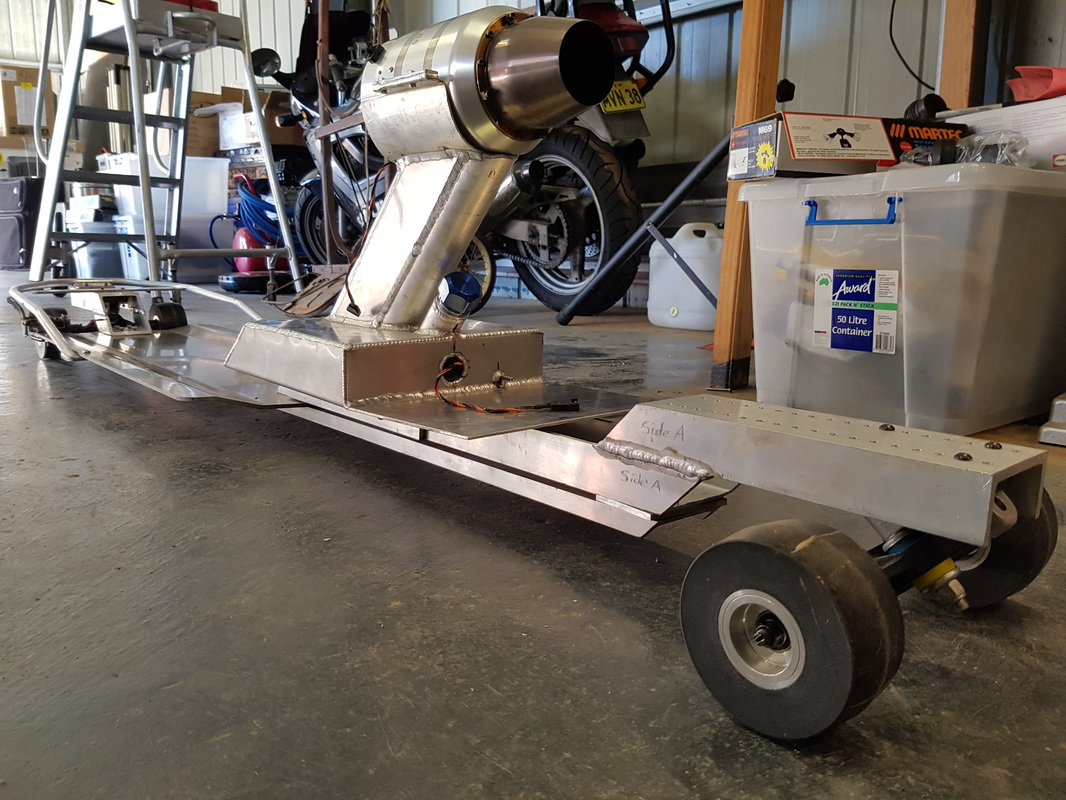 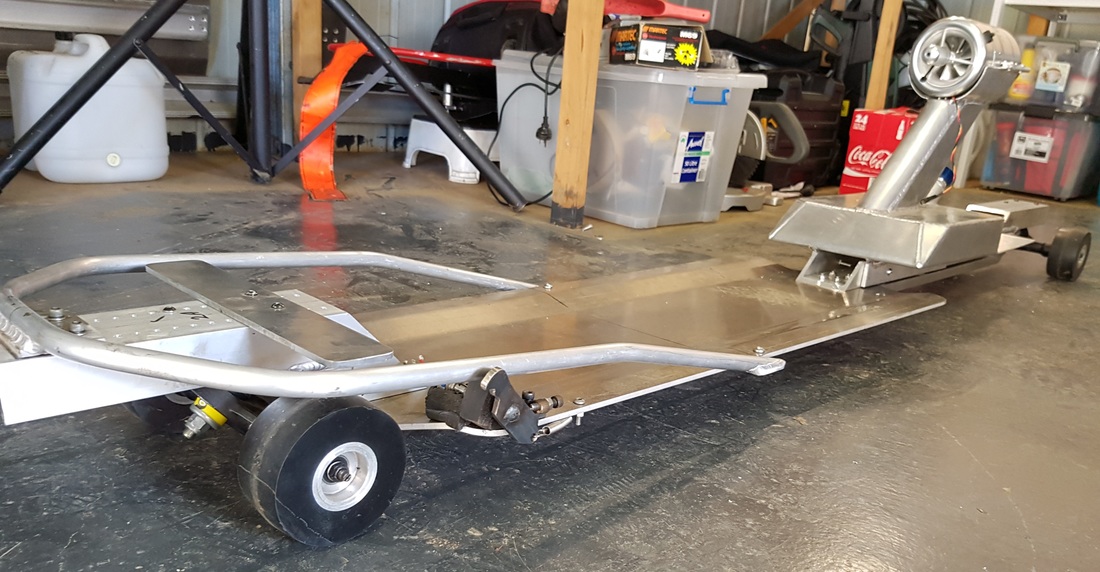 I am now the owner of possibly the longest and most stupid looking streetluge/longboard in the world. next comes all the fun of wiring this sucker up to make the silly become cool.
|

Partners:


Supporters:

Archives
August 2016
Categories
All
|


 RSS Feed
www.jetluge.com.au / CONTACT |
© Copyright JetLuge.com.au 2020-2027. All rights reserved.
|